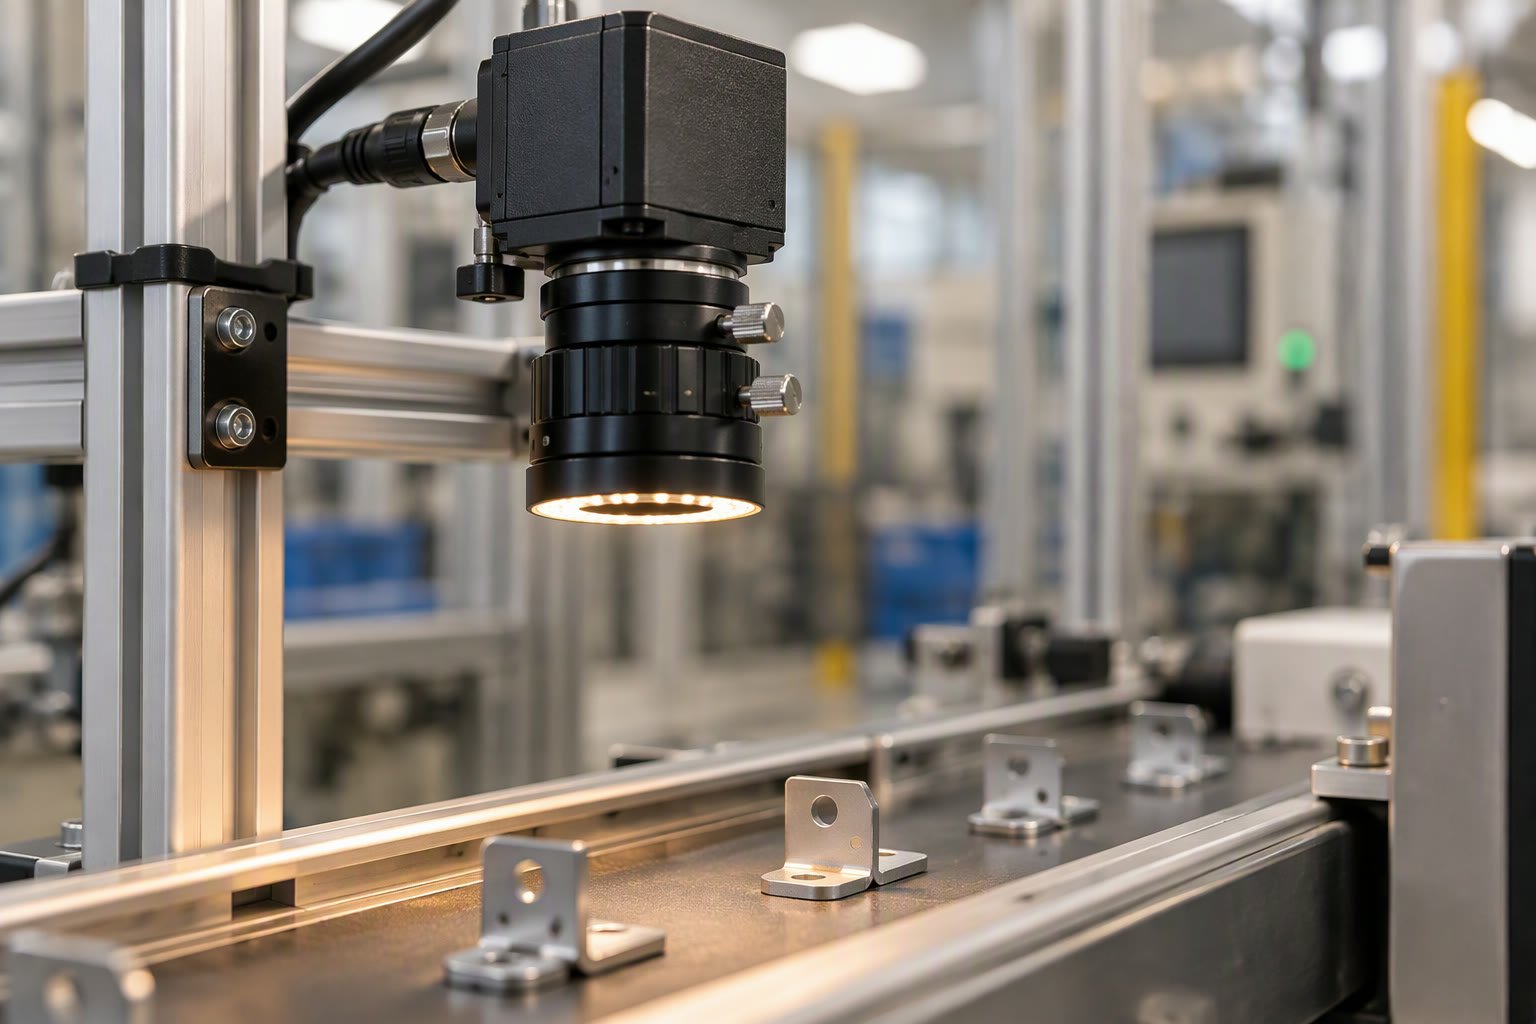
The lens decides whether the camera can see the defect at all. A 5 MP sensor behind the wrong focal length gives you a sharp picture of the wrong area. Most failed vision projects were specified from the camera backwards.
This guide covers the four numbers that fix a lens choice, a worked focal length calculation, the sensor size trap that ruins field of view estimates, and the cost bands you will meet in India.
The four numbers that fix the lens
Every lens decision comes down to four quantities. Get three and the fourth is arithmetic.
- Field of view (FOV) — the width and height you must cover at the target, in millimetres.
- Working distance (WD) — the gap from the front of the lens to the object. Usually fixed by the machine, the guard or the robot reach.
- Sensor size — the active area of the sensor, not the megapixel count.
- Smallest feature — the defect, edge or character you must resolve, in millimetres.
The first three give the focal length. The fourth tells you whether the resulting resolution is enough, and it is the one buyers forget.
Focal length, with a worked example
The thin lens approximation is accurate enough for lens selection:
f = WD × sensor dimension / FOV

Example:
  sensor width    = 8.45 mm   (2448 px × 3.45 µm)
  field of view   = 200 mm
  working distance = 500 mm

  f = 500 × 8.45 / 200 = 21.1 mm  → choose a 20 mm lens
Now check resolution. The sensor is 2448 pixels across a 200 mm field, so one pixel covers about 0.082 mm. If the smallest feature is 1 mm, that is roughly 12 pixels across it, which is comfortable. If the feature is 0.2 mm, you have 2.4 pixels, which is not enough for reliable detection and you need either a longer lens with a smaller field or a higher-resolution sensor.
A common rule of thumb is three to five pixels across the smallest feature for presence and measurement, and more for edge or character inspection. Treat the rule as a starting point, then test with real parts.
Sensor size: the trap under the megapixels
Two cameras can both be 5 MP and have different sensor widths: a 1/1.8 inch sensor is about 7.1 mm wide, a 2/3 inch sensor is 8.8 mm, and a 1 inch sensor is 12.8 mm. The focal length that gives your field of view changes with each. Buying a lens from a megapixel figure alone is the most common specification error we see.
| Format | Typical width | Focal length for 200 mm FOV at 500 mm WD |
|---|---|---|
| 1/2.5 inch | 5.6 mm | 14 mm |
| 1/1.8 inch | 7.1 mm | 18 mm |
| 2/3 inch | 8.8 mm | 22 mm |
| 1 inch | 12.8 mm | 32 mm |
The lens must also cover the sensor. A lens designed for a 2/3 inch sensor will vignette on a 1 inch sensor, giving dark corners. Check the image circle in the lens datasheet against the sensor diagonal.
Working distance and field of view trade off against each other
If the machine fixes the working distance, the field of view follows from the lens. If the field is fixed, the working distance follows. Being forced into an awkward working distance is normal, and it is why adjustable mounts and spacers exist. A 5 mm extension ring shifts focus closer at the cost of maximum working distance.
Long working distances are common in welding, machining and any cell where the camera cannot sit close. They push you towards longer focal lengths, which narrow the field and reduce light. Plan the mechanical mount before you buy, because the camera bracket often decides what is possible.
Aperture, light and depth of field
Aperture affects three things at once: brightness, depth of field and sharpness. Stopping down from f/2.8 to f/5.6 increases depth of field and usually improves corner sharpness, but it halves the light reaching the sensor. Past about f/8, diffraction starts to soften the image on small-pixel sensors.
For parts that vary in height, depth of field matters more than brightness. For flat parts on a conveyor, brightness usually wins, and you spend the aperture on exposure time. If you cannot get both, fix the lighting first: a brighter, more even light is cheaper than a bigger lens.
Motion is the other constraint. Exposure time must be short enough that the part does not smear: a part moving at 300 mm/s with a 1 ms exposure moves 0.3 mm during the frame. At 0.08 mm per pixel, that is nearly four pixels of blur. Either shorten the exposure or accept the blur and check whether your algorithm survives it.
Distortion and when to pay for telecentric
Standard lenses have barrel or pincushion distortion, typically 1 to 3 percent at the edges. Calibration can correct it for measurement, but it costs time and needs a good target. If you measure with tight tolerances across the whole field, a low-distortion lens is worth the premium.
Telecentric lenses remove perspective error: an object moved towards or away from the camera does not change apparent size. They are the right answer for measuring holes, pins and gaps on parts that vary in height, and they are expensive. Budget roughly ₹60,000 to ₹2.5 lakh depending on field size, and expect the lens to be larger than the camera.
Mounts, filters and practical extras
- C-mount is standard for machine vision cameras. CS-mount has a shorter flange distance and needs a 5 mm spacer to take C-mount lenses.
- Locking screws on focus and aperture are not optional on a production line. Vibration moves unloved lenses.
- Bandpass filters matched to your lighting colour cut ambient light and improve contrast outdoors or under factory windows.
- Polarisers kill glare from machined metal and glossy packaging, often more effectively than more light.
- Protective windows and air purges keep dust off the front element in foundries and woodworking shops.
What lenses cost in India
| Type | Indicative price | Typical use |
|---|---|---|
| 8–12 mm C-mount, machine vision grade | ₹3,500–₹9,000 | Presence checks, wide fields, close work |
| 16–25 mm machine vision lens, low distortion | ₹9,000–₹25,000 | Measurement, code reading |
| 35–50 mm high-resolution lens | ₹18,000–₹45,000 | Long working distance, small fields |
| Telecentric lens | ₹60,000–₹2.5 lakh | Dimensional gauging with height variation |
| Liquid lens or autofocus module | ₹40,000 and up | Variable working distance, multiple part heights |
These are distributor prices for branded optics. Imported telecentric lenses can take six to ten weeks, so order early if the project schedule is tight. Cheaper CCTV lenses exist and occasionally work for presence detection, but their distortion and focus stability usually rule them out for measurement.
Selection order that avoids rework
- Write down the field of view and the smallest feature in millimetres.
- Measure the working distance the machine allows, including the guard and the part envelope.
- Pick the sensor size from the camera datasheet, then compute focal length.
- Check pixels across the smallest feature. If it is under three, change the sensor or the field now.
- Choose aperture for depth of field, then confirm the exposure time against part speed.
- Test with a loan lens on real parts before ordering the production quantity.
Mistakes that cost the most
- Specifying from megapixels instead of millimetres per pixel.
- Forgetting that the lens image circle must cover the sensor.
- Ignoring the mounting space needed behind the camera for connectors and cable bend radius.
- Buying a lens without locking screws on a vibrating machine.
- Assuming calibration fixes a lens that is simply too wide for the tolerance.
The optics decision sits between the camera interface and the lighting design. Get all three right and the software has a chance; get any one wrong and no algorithm recovers it. For a broader view of camera classes and their prices, see our robot vision camera guide.
How do I calculate focal length for a machine vision lens?
Divide working distance times sensor width by field of view width. With a 500 mm working distance, an 8.45 mm sensor and a 200 mm field you get about 21 mm, so a 20 mm lens is the practical choice.
What resolution do I need for defect detection?
Aim for at least three to five pixels across the smallest feature, more for edges and text. Multiply the field width by that figure and divide by the sensor width to get the minimum camera resolution.
Is a telecentric lens worth the cost?
Yes when you measure dimensions on parts that vary in height or when perspective error breaks the tolerance. For presence checks and code reading, a good standard lens is enough.
Can I use a CCTV lens on an industrial camera?
It will mount and produce an image, but distortion, focus drift and poor corner sharpness usually make it unsuitable for measurement. It is acceptable for rough presence detection in a clean, low-vibration setting.
Why is my image dark at the corners?
The lens image circle is smaller than the sensor diagonal. Check the lens specification against your sensor size, or move to a lens rated for a larger format.
Lens choice sets the pixels per millimetre you have to work with, and the OCR and code reading guide turns that into a read-rate budget.
Sources and further reading
- EMVA — European Machine Vision Association standards and reference material.
- A3 Vision Online — machine vision fundamentals and optics resources.
- Edmund Optics India — imaging optics tutorials and focal length calculators.
- Kowa — machine vision lens datasheets and format coverage.