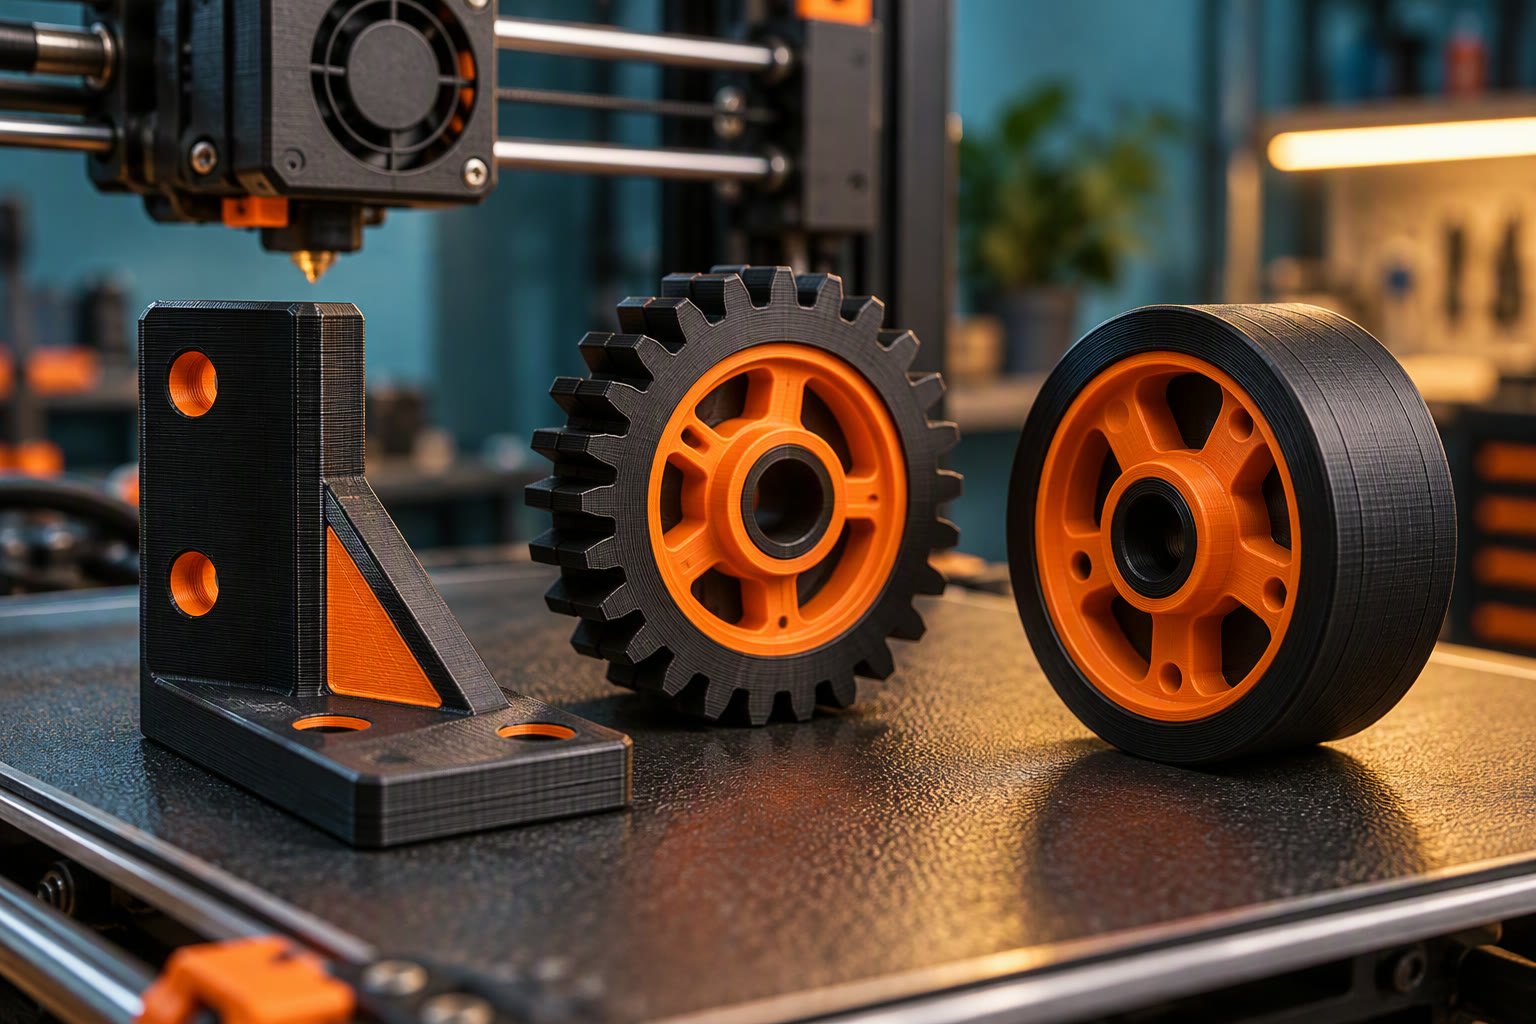
3D printing is the fastest way to get a robot prototype moving, and the fastest way to build a joint that fails in a week. The difference is almost never the printer. It is the material choice, the wall orientation and whether the part was designed for the load path.
This guide covers the practical design rules for printed robot parts: which filament for which job, how thick a wall actually needs to be, where to put heat-set inserts, what tolerances work on Indian printers, and where printed parts should never go.
Choose material by load and temperature, not by colour
| Material | Best for | Weak at | Approx. price in India |
|---|---|---|---|
| PLA | Jigs, fixtures, mock-ups, indoor covers | Above 50 °C, impact, sunlight | ₹700–1,100 / kg |
| PETG | Brackets, sensor mounts, enclosures | Creep under sustained load | ₹900–1,400 / kg |
| ABS / ASA | Outdoor housings, warm enclosures | Warping, fumes, needs enclosure | ₹1,100–1,700 / kg |
| TPU (95A) | Wheels, gripper pads, bumpers | Stiff structures, fine detail | ₹1,600–2,600 / kg |
| PA / Nylon | Gears, hinges, load-bearing links | Moisture absorption, warping | ₹2,200–3,500 / kg |
| CF-PA (carbon filled) | Stiff arms, high-load brackets | Brittle in impact, nozzle wear | ₹4,000–7,000 / kg |
Prices move with import duty and brand, so treat them as a planning range rather than a quote. What does not move is the ordering: PLA for anything that stays cool and static, PETG for general structure, ABS or ASA outdoors, TPU where grip or compliance matters, nylon where a printed gear has to survive real torque.
A chassis printed in PLA left in a parked car can soften and sag. That is not a printing defect; it is a material choice made against the environment.
Design rules that decide whether the part survives
- Walls: three perimeters minimum for structural parts, four or five at bolt bosses. A 1.2 mm wall is a cover, not a bracket.
- Infill: 30–50% gyroid for structure. More than 60% rarely adds strength per gram compared with thicker walls.
- Load direction: printed parts are weakest between layers. Design so tension runs along the layers, not across them.
- Ribs: 2 mm ribs at 45° stiffen a flat panel far more than extra infill.
- Fillets: 2–3 mm at internal corners. Sharp inside corners are where cracks start.
- Bolt bosses: minimum 8 mm outer diameter for an M3 screw, with a flat seat for the washer.
- Clearance: 0.3 mm for a sliding fit, 0.15 mm for a press fit, 0.4 mm for a hinge pin that must rotate freely.
- Orientation: print brackets on their side so the bolt load runs along the layer lines.
The single biggest failure is a bracket printed flat, then loaded in bending across the layer stack. It delaminates along a clean plane. Rotate the part on the bed and the same geometry can carry several times the load.
Heat-set inserts instead of printed threads
A printed M3 thread in PLA survives perhaps a dozen assembly cycles. A brass heat-set insert survives hundreds and can be replaced. The design rule is a hole sized to the insert’s outer diameter minus 0.1–0.2 mm, at least 6 mm deep, with a boss wall of 2.5 mm around it.
| Insert | Hole diameter | Min. boss diameter | Min. depth |
|---|---|---|---|
| M3 | 4.2 mm | 9 mm | 6 mm |
| M4 | 5.6 mm | 11 mm | 8 mm |
| M5 | 6.4 mm | 13 mm | 9 mm |
Install with a soldering iron at 220–250 °C, straight down, then let it cool before loading. Pressing a hot insert sideways distorts the boss and the screw will never sit square again.
Tolerances that actually work on Indian printers
Most hobby machines in India are well-tuned Enders, Prusas and Bambu A1/P1 units. On those, a 0.4 mm nozzle and 0.2 mm layer height will hold roughly ±0.15 mm on a 50 mm feature. That is enough for brackets and enclosures, not enough for a bearing seat.
- Test a calibration cube and a 20 mm hole before committing to a batch.
- Holes print undersize by 0.1–0.2 mm; model them 0.2 mm larger if the fit matters.
- Long parts warp at the corners; use a brim above 150 mm length.
- Pin joints need a printed clearance of 0.4 mm, or a metal shoulder screw instead.
- Anything rotating above a few hundred RPM should ride on a real bearing, not a printed bore.
Where printed parts should not go
| Application | Why printing fails | Use instead |
|---|---|---|
| Motor mounts above ~1 Nm stall torque | Creep and bolt pull-through | Aluminium plate or CNC bracket |
| Wheel hubs at speed | Runout, heat, fatigue | Machined hub with bearing seat |
| Gearbox gears under continuous load | Tooth wear, layer separation | Steel or acetal gears |
| Structural frame members | Stiffness far below aluminium extrusion | 2020 extrusion |
| Anything in a hot enclosure | PLA and PETG soften | Metal, or ASA with airflow |
| Safety-critical guards | No certified strength | Steel or polycarbonate sheet |
The useful split is this: print the shape, machine the load. Printed parts are excellent at holding sensors, routing cables, forming covers and making one-off fixtures. They are poor at carrying torque, surviving heat and holding precision over thousands of cycles.
Post-processing that adds real life
- Annealing PLA at 60–70 °C for an hour improves heat resistance slightly, but also shrinks the part; test before committing.
- Drill out holes after printing with the exact fastener size; printed holes are never round enough for a precision fit.
- Add a thin CA glue bead along high-stress layer seams on load-bearing brackets.
- Sand and paint only cosmetic parts; paint hides cracks on structural ones.
- Label parts with a printed or engraved material code so a replacement is printed in the same filament.
Mistakes that cost the most time
- Printing a whole robot before testing one joint under real load.
- Using PLA for anything that will sit in an Indian summer workshop.
- Designing a screw directly into plastic and expecting it to survive reassembly.
- Ignoring print orientation until the part breaks.
- Buying a printer before learning which material the design needs.
- Assuming a beautiful render means a strong part.
Related: where to 3D print robot parts in India, robot chassis, servo buying guide, robot arm kinematics, robot integration checklist.
Is PLA strong enough for robot parts?
For brackets, covers, sensor mounts and prototypes that stay below about 50 °C, yes. For motor mounts, gears or anything outdoors in summer, use PETG, ABS, ASA or nylon.
How thick should 3D printed robot parts be?
Three perimeters minimum for structural parts, with 30–50% gyroid infill and 2–3 mm fillets at internal corners. Thin 1.2 mm walls are covers, not brackets.
Should I use heat-set inserts in printed parts?
Yes for any joint that will be assembled more than a few times. Sized holes plus brass inserts hold far better than printed threads and can be replaced.
What tolerance can I expect from a 3D printer?
About ±0.15 mm on a 50 mm feature on a well-tuned 0.4 mm nozzle machine. Holes print undersize, so model them 0.2 mm larger when the fit matters.
Can I 3D print gears for a robot?
For light duty and prototyping, yes, in nylon or CF-PA. For continuous torque, heat or thousands of cycles, use steel or acetal gears and print only the housing.
Binding and flex in printed parts are a common cause of a stepper losing steps, especially after a few hours of running.
Printed links need the load path designed first, as in our robot arm CAD and materials guide.
Quiet motion matters more once parts are printed and resonant, so compare TMC2209 and A4988 behaviour before choosing a driver.
Printed brackets and a controller board designed for the same mounts save a lot of assembly time.
Printed brackets attach to a plate, and chassis design basics explains where those loads go.
Sources and further reading
- Prusa Research — material properties and print settings for PLA, PETG, ASA and TPU.
- Bambu Lab — filament guides and dimensional accuracy data.
- All3DP — practical design rules for functional printed parts.
- Hubs — material comparison and tolerance references.