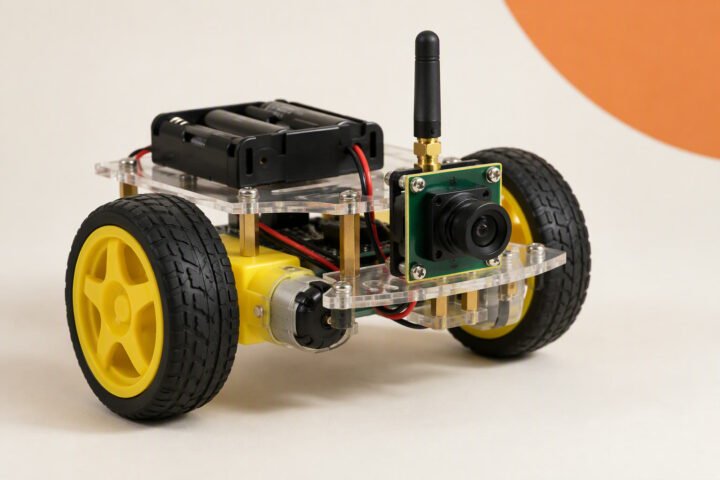
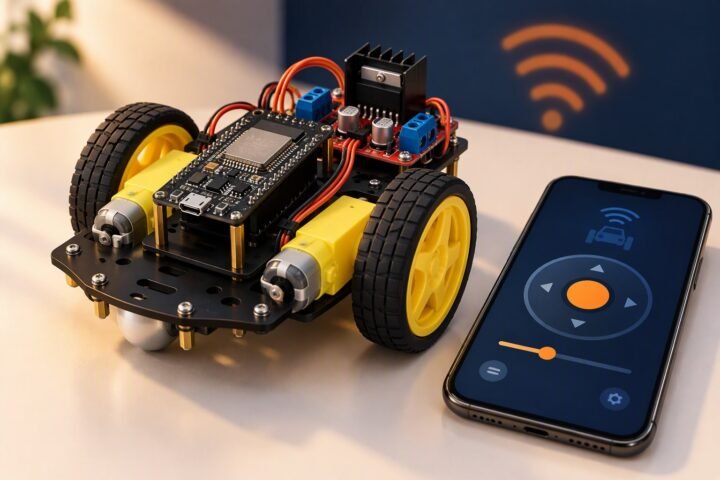
A ₹1,470 robot car you drive with an ordinary infrared remote. A small IR receiver on an Arduino Uno reads button codes from a TV or kit remote, and the robot moves forward, back, left, right or stops. The page includes the pin map, a complete sketch, a learn step that prints your own remote’s codes, and a test plan for range, ambient light and the repeat-code problem.
Scope: beginner. This is a design worksheet with illustrative costs. It has not been bench-tested by this site. The sketch uses the Arduino-IRremote library, whose function names have changed between versions, so check its current examples before you copy any call. Infrared needs line of sight and is the simplest remote control to build, which is why it is a good first wireless robot.
How it works
A 38 kHz infrared receiver module filters the remote’s modulated light and gives the Uno a clean digital signal. The library decodes that signal into a protocol, an address and a command number. The sketch compares the command with five numbers you choose, one for each action. Because every remote sends different numbers, the first job is to print the codes your remote sends and write them into the sketch.
Bill of materials
| Part | Qty | Unit | Total |
|---|---|---|---|
| Arduino Uno R3 | 1 | ₹520 | ₹520 |
| L298N motor driver | 1 | ₹180 | ₹180 |
| IR receiver module (38 kHz) | 1 | ₹30 | ₹30 |
| IR remote | 1 | ₹120 | ₹120 |
| TT gear motor with wheel | 2 | ₹110 | ₹220 |
| Acrylic chassis | 1 | ₹80 | ₹80 |
| 2×18650 holder with cells | 1 | ₹200 | ₹200 |
| Caster wheel and screws | 1 | ₹40 | ₹40 |
| Jumper wire set | 1 | ₹50 | ₹50 |
| Switch | 1 | ₹30 | ₹30 |
| Parts total | ₹1,470 | ||
Scroll the table sideways to see every column.
Prices checked Nov 2026. Shipping and tools are not included.
Prices are illustrative figures for Indian sellers in November 2026, before shipping, and have not been checked against current listings. Some robot kits ship with an IR remote and receiver, so check what you already own.
Pin map
| Module | Arduino Uno | Note |
|---|---|---|
| IR receiver OUT | D2 | Signal output of the receiver module |
| IR receiver VCC / GND | 5V / GND | Check the pin order on your module |
| L298N IN1 / IN2 | D4 / D5 | Left motor direction |
| L298N IN3 / IN4 | D6 / D7 | Right motor direction |
| L298N ENA | D9 | Left motor PWM. Remove the onboard jumper. |
| L298N ENB | D10 | Right motor PWM. Remove the onboard jumper. |
| L298N +5V | 5V pin | Powers the Uno from the driver’s regulator |
| All grounds | Common GND | Battery, L298N, Uno and receiver |
Step 1: learn your remote’s codes
Install the library named IRremote from the Arduino Library Manager. Load the receive example from its examples menu, set the receive pin to 2, open the Serial Monitor and press each button you want to use. Write down the command number printed for the buttons you will use as forward, back, left, right and stop. Use the same remote for the whole build, and press each button briefly.
Step 2: the sketch
// IR remote robot car: Uno + L298N + IR receiver (IRremote library)
// Design worksheet: replace the CMD_ numbers with the codes your remote prints.
// Check the library's current examples; function names differ between versions.

#include <IRremote.hpp>

const int IR_PIN = 2;

const int IN1 = 4;
const int IN2 = 5;
const int IN3 = 6;
const int IN4 = 7;
const int ENA = 9;
const int ENB = 10;

const int SPEED = 150;
const int TURN_SPEED = 140;
const unsigned long HOLD_MS = 300;   // stop if no code arrives for this long

// Replace these with the numbers printed for your remote.
const uint16_t CMD_FORWARD = 0x18;
const uint16_t CMD_BACK = 0x52;
const uint16_t CMD_LEFT = 0x08;
const uint16_t CMD_RIGHT = 0x5A;
const uint16_t CMD_STOP = 0x1C;

unsigned long lastSignal = 0;

void setup() {
  Serial.begin(9600);
  pinMode(IN1, OUTPUT);
  pinMode(IN2, OUTPUT);
  pinMode(IN3, OUTPUT);
  pinMode(IN4, OUTPUT);
  pinMode(ENA, OUTPUT);
  pinMode(ENB, OUTPUT);
  IrReceiver.begin(IR_PIN, ENABLE_LED_FEEDBACK);
  stopMotors();
}

void loop() {
  if (IrReceiver.decode()) {
    uint16_t command = IrReceiver.decodedIRData.command;
    Serial.println(command, HEX);
    lastSignal = millis();

    if (command == CMD_FORWARD) forward();
    else if (command == CMD_BACK) backward();
    else if (command == CMD_LEFT) turnLeft();
    else if (command == CMD_RIGHT) turnRight();
    else if (command == CMD_STOP) stopMotors();

    IrReceiver.resume();
  }

  // Dead-man stop: if the remote goes quiet or out of range, stop moving.
  if (millis() - lastSignal > HOLD_MS) {
    stopMotors();
  }
}

void forward() {
  digitalWrite(IN1, HIGH);
  digitalWrite(IN2, LOW);
  digitalWrite(IN3, HIGH);
  digitalWrite(IN4, LOW);
  analogWrite(ENA, SPEED);
  analogWrite(ENB, SPEED);
}

void backward() {
  digitalWrite(IN1, LOW);
  digitalWrite(IN2, HIGH);
  digitalWrite(IN3, LOW);
  digitalWrite(IN4, HIGH);
  analogWrite(ENA, SPEED);
  analogWrite(ENB, SPEED);
}

void turnLeft() {
  digitalWrite(IN1, LOW);
  digitalWrite(IN2, HIGH);
  digitalWrite(IN3, HIGH);
  digitalWrite(IN4, LOW);
  analogWrite(ENA, TURN_SPEED);
  analogWrite(ENB, TURN_SPEED);
}

void turnRight() {
  digitalWrite(IN1, HIGH);
  digitalWrite(IN2, LOW);
  digitalWrite(IN3, LOW);
  digitalWrite(IN4, HIGH);
  analogWrite(ENA, TURN_SPEED);
  analogWrite(ENB, TURN_SPEED);
}

void stopMotors() {
  digitalWrite(IN1, LOW);
  digitalWrite(IN2, LOW);
  digitalWrite(IN3, LOW);
  digitalWrite(IN4, LOW);
  analogWrite(ENA, 0);
  analogWrite(ENB, 0);
}
Most remotes send one full code when a button is pressed, then a shorter repeat code while it is held. Depending on the library version, the repeat can arrive with a different command or be flagged as a repeat, so the hold-to-drive behaviour in this sketch may need adjusting. The timeout stop is a safety measure: if the receiver loses the remote, the robot does not keep driving the last command.
Test plan
- Receiver on the bench: with the motors disconnected, confirm the Serial Monitor prints a code for each button and that the same button gives the same code every time.
- Motor direction: with the wheels off the ground, confirm forward, back, left and right. Swap motor leads, not code, if a side is reversed.
- Hold behaviour: hold a button and watch whether the robot keeps moving or moves in jerks. Adjust
HOLD_MSor the repeat handling. - Range and angle: note the distance and angle at which control fails, indoors and with the receiver pointing away from you.
- Ambient light: repeat under a window and near a fluorescent or LED lamp. Strong sunlight is a common cause of lost signals.
- Interference: try a second remote, such as the TV remote. The robot should ignore codes it does not know.
- Battery: drive for ten minutes. If the receiver resets or the robot stutters, the supply is sagging.
What usually goes wrong
| Symptom | Likely cause | Fix |
|---|---|---|
| Nothing prints | Receiver pins in the wrong order, or wrong pin in code | Check VCC, GND and OUT against your module and the pin number |
| Garbage or changing codes | Noise, weak remote battery or the wrong protocol | Fresh battery, shorter wires, confirm the remote works with a phone camera |
| Works only up close | Receiver pointing away or in bright light | Aim it forward and shade it |
| Motors do not respond | Command constants do not match | Copy the printed numbers exactly |
| Robot keeps running when you release | The repeat logic or timeout is missing | Keep the timeout stop in the loop |
| Speed control stops working | PWM on pins that share the IR library’s timer | Keep motor PWM on D9 and D10 |
Upgrades
- Speed buttons: map two more buttons to raise and lower the base speed.
- Obstacle stop: add an ultrasonic sensor so a remote-driven robot stops before a wall.
- Longer range: move to Bluetooth or Wi-Fi control, as in the ESP32 robot car.
- Learn mode: store codes in EEPROM so you can map any remote without editing the sketch.
Cost and parts notes
The ₹1,470 total is an illustration for the parts above and does not include shipping. The L298N guide explains the voltage drop that makes a 7.4 V pack behave like a 5.8 V one at the motors. Use the cost calculator to compare sellers.
Common questions
Can I use my TV remote?
Usually yes, as long as the receiver can decode its protocol and you map the codes it sends. Using a TV remote near the TV may also change the channel, so a spare remote is easier.
Why use a receiver module and not a bare photodiode?
The module filters the 38 kHz carrier and ignores most room light. A bare photodiode would need that filtering built by you.
Does it work in sunlight?
Often badly. Sunlight contains a lot of infrared and can swamp the receiver, so this build suits indoor use.
Can two robots share one remote?
Both would react to the same buttons. Give each robot different codes or use different remotes.
Last reviewed: November 2026. This is a design worksheet with illustrative costs. It has not been bench-tested by this site; the library calls and code values must be checked against the library version and your remote, and measurements from your build are welcome.