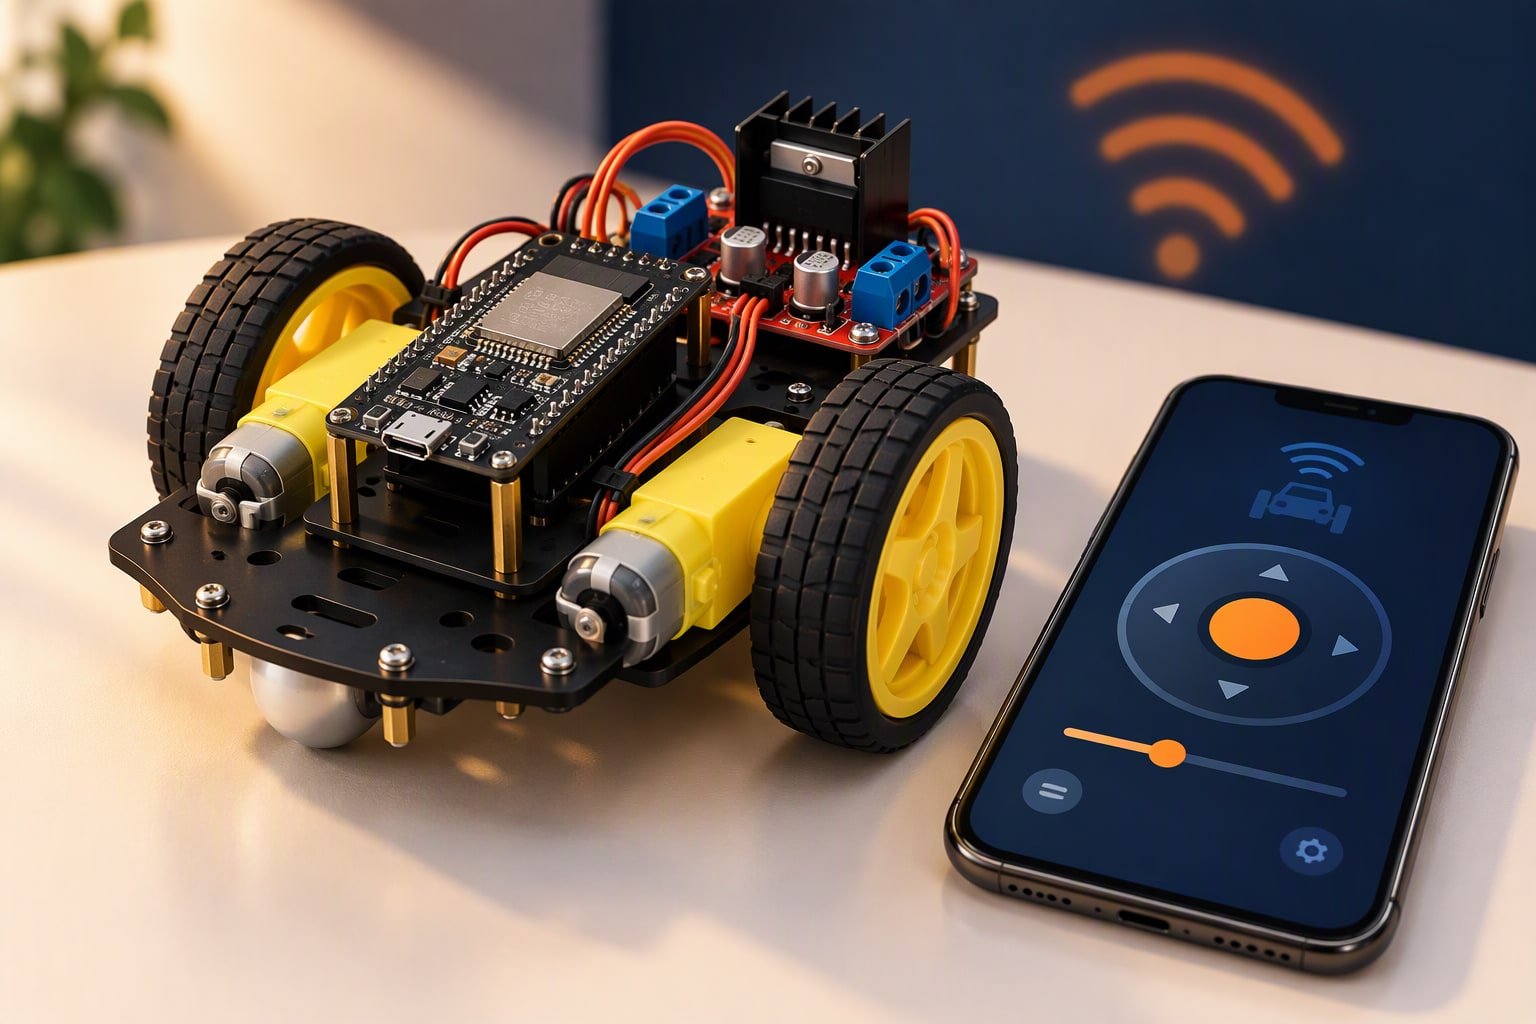
A ₹1,520 robot car you control from a phone browser, with no app to install. The ESP32 runs a small web server; the page has hold-to-move buttons and a stop. The build includes a separate 5 V rail for the ESP32, a pin map that avoids the boot-strapping pins, a 1.5-second command timeout and the Wi-Fi settings that decide whether the car connects at all. This ESP32 robot car needs no app, runs from a separate 5 V rail and stops by itself when the connection drops.
Scope: intermediate. You should be comfortable uploading to an ESP32 and reading a serial monitor. The motors run at full speed because the L298N enable jumpers stay in place; speed control is listed as the first upgrade once the car drives reliably.
What you are building
The ESP32 connects to a 2.4 GHz Wi-Fi network and serves a page at its IP address. Pressing and holding a direction button sends a request to the car; releasing it sends a stop. If the phone disconnects or the browser tab closes without a stop, the firmware stops the motors after 1.5 seconds. That timeout is the difference between a toy and a robot that keeps driving into a wall.
Bill of materials
| Part | Qty | Unit | Total |
|---|---|---|---|
| ESP32 DevKit V1 | 1 | ₹420 | ₹420 |
| L298N motor driver | 1 | ₹180 | ₹180 |
| TT gear motor with wheel | 2 | ₹110 | ₹220 |
| Acrylic chassis | 1 | ₹80 | ₹80 |
| 2×18650 holder with cells | 1 | ₹220 | ₹220 |
| 5 V 3 A buck converter | 1 | ₹220 | ₹220 |
| Caster wheel and screws | 1 | ₹40 | ₹40 |
| Jumper wire set | 1 | ₹50 | ₹50 |
| Switch and foam tape | 1 | ₹30 | ₹30 |
| USB data cable | 1 | ₹60 | ₹60 |
| Parts total | ₹1,520 | ||
Scroll the table sideways to see every column.
Prices checked Oct 2026. Shipping and tools are not included.
Two items are easy to skip and should not be: the buck converter and the USB data cable. The ESP32’s radio draws short bursts of current; the L298N’s small 5 V regulator is a poor supply for it. A 5 V 3 A buck converter gives the board a stable rail. A charge-only USB cable will power the board but will not let you upload. Prices are from Indian sellers in October 2026, before shipping.
ESP32 robot car pin map
| L298N | ESP32 | Note |
|---|---|---|
| IN1 | GPIO 26 | Left motor direction |
| IN2 | GPIO 27 | Left motor direction |
| IN3 | GPIO 14 | Right motor direction |
| IN4 | GPIO 13 | Right motor direction |
| ENA / ENB | Keep jumpers | Motors enabled at full speed |
| +12V | Battery + | 2S 18650 pack, 7.4 V nominal |
| GND | Battery − and common ground | ESP32, buck and L298N share ground |
| Buck 5 V | ESP32 5V / VIN | Do not use the 3.3 V pin as an input |
Power and wiring
- Set the buck converter output to 5.0 V with a multimeter before connecting the ESP32. Most modules ship at a different voltage.
- Connect the 2S pack through the switch to the L298N +12V and GND terminals.
- Connect the same battery input to the buck converter. Its 5 V output goes to the ESP32 5V/VIN pin, and its ground joins the common ground.
- Wire the four L298N input pins to the ESP32 pins in the table. Leave the ENA and ENB jumpers installed.
- Connect the motors to the L298N outputs. If a side runs backwards, swap that motor’s two leads.
- Keep the ESP32 antenna end away from the battery and the motor wires. Do not wrap the board in foil or place it under a metal chassis.
Voltage warning: the L298N input pins are driven at 3.3 V by the ESP32. Most L298N modules accept that as a logic high, but some clones are marginal. If the motors do not switch, measure the input pin voltage and check the module’s logic threshold before assuming the code is wrong. The separate 5 V rail is the first thing to wire on an ESP32 robot car.
The sketch
Change the first two lines to your Wi-Fi name and password. The network must be 2.4 GHz; the ESP32 cannot see a 5 GHz-only hotspot. If the connection fails within 15 seconds, the board starts its own access point called RobotCar with the password build1234.
#include <WiFi.h>
#include <WebServer.h>

const char* SSID = "YOUR_2G4_WIFI";
const char* PASS = "YOUR_PASSWORD";

const int IN1 = 26;
const int IN2 = 27;
const int IN3 = 14;
const int IN4 = 13;

WebServer server(80);
unsigned long lastCommand = 0;
bool moving = false;

const char PAGE[] = R"rawliteral(
<!doctype html><meta name="viewport" content="width=device-width,initial-scale=1">
<title>Robot car</title>
<style>
body{font-family:system-ui,sans-serif;background:#0b1220;color:#fff;text-align:center;margin:0;padding:24px}
button{width:92px;height:64px;margin:5px;font-size:16px;border:0;border-radius:8px;background:#ff5a1f;color:#0b1220;font-weight:700;touch-action:none}
#s{color:#9aa4b2}
</style>
<h1>Robot car</h1>
<p id="s">Hold a button to move</p>
<div>
<button onpointerdown="go('f')" onpointerup="go('s')">Forward</button><br>
<button onpointerdown="go('l')" onpointerup="go('s')">Left</button>
<button onpointerdown="go('s')">Stop</button>
<button onpointerdown="go('r')" onpointerup="go('s')">Right</button><br>
<button onpointerdown="go('b')" onpointerup="go('s')">Back</button>
</div>
<script>
function go(d){fetch('/cmd?d='+d).then(r=>r.text()).then(t=>document.getElementById('s').textContent=t)}
</script>
)rawliteral";

void setup() {
  pinMode(IN1, OUTPUT);
  pinMode(IN2, OUTPUT);
  pinMode(IN3, OUTPUT);
  pinMode(IN4, OUTPUT);
  stopMotors();

  Serial.begin(115200);
  WiFi.mode(WIFI_STA);
  WiFi.begin(SSID, PASS);

  unsigned long start = millis();
  while (WiFi.status() != WL_CONNECTED && millis() - start < 15000) {
    delay(500);
    Serial.print(".");
  }

  if (WiFi.status() == WL_CONNECTED) {
    WiFi.setSleep(false);
    Serial.println();
    Serial.print("Open http://");
    Serial.println(WiFi.localIP());
  } else {
    WiFi.mode(WIFI_AP);
    WiFi.softAP("RobotCar", "build1234");
    Serial.println();
    Serial.print("AP mode. Open http://");
    Serial.println(WiFi.softAPIP());
  }

  server.on("/", []() {
    server.send(200, "text/html", PAGE);
  });

  server.on("/cmd", []() {
    String d = server.arg("d");
    if (d == "f") {
      forward();
    } else if (d == "b") {
      backward();
    } else if (d == "l") {
      turnLeft();
    } else if (d == "r") {
      turnRight();
    } else {
      stopMotors();
    }
    lastCommand = millis();
    moving = (d != "s");
    server.send(200, "text/plain", moving ? "Moving" : "Stopped");
  });

  server.begin();
  lastCommand = millis();
}

void loop() {
  server.handleClient();

  if (moving && millis() - lastCommand > 1500) {
    stopMotors();
    moving = false;
    Serial.println("Command timeout: stopped");
  }
}

void forward() {
  digitalWrite(IN1, HIGH);
  digitalWrite(IN2, LOW);
  digitalWrite(IN3, HIGH);
  digitalWrite(IN4, LOW);
}

void backward() {
  digitalWrite(IN1, LOW);
  digitalWrite(IN2, HIGH);
  digitalWrite(IN3, LOW);
  digitalWrite(IN4, HIGH);
}

void turnLeft() {
  digitalWrite(IN1, LOW);
  digitalWrite(IN2, HIGH);
  digitalWrite(IN3, HIGH);
  digitalWrite(IN4, LOW);
}

void turnRight() {
  digitalWrite(IN1, HIGH);
  digitalWrite(IN2, LOW);
  digitalWrite(IN3, LOW);
  digitalWrite(IN4, HIGH);
}

void stopMotors() {
  digitalWrite(IN1, LOW);
  digitalWrite(IN2, LOW);
  digitalWrite(IN3, LOW);
  digitalWrite(IN4, LOW);
}
Upload with the ESP32 board package installed in the Arduino IDE. If the upload fails, hold the BOOT button as the upload starts, release it when the progress bar moves, then press EN once after the upload finishes. A USB cable that only charges will show a port but no data.
Test plan
- Serial first: open the monitor at 115200 and confirm the IP address. If it says AP mode, connect to the RobotCar network and open 192.168.4.1.
- Wheels up: test each direction and confirm the stop button. Do not put the car down until the directions match the labels.
- Timeout: hold forward, close the browser tab, and confirm the motors stop within about two seconds.
- Range: drive on the floor at increasing distance from the router. Note where the controls become laggy.
- Battery sag: run for ten minutes, then measure the pack and feel the L298N heatsink. A hot driver or a slow car means the pack or the wiring is undersized.
- Recovery: switch the router off and on. Does the car reconnect? If not, reset it and record the behaviour in your report.
What usually goes wrong
| Symptom | Likely cause | Fix |
|---|---|---|
| Cannot see the network | 5 GHz hotspot or a captive-portal campus Wi-Fi | Use a 2.4 GHz phone hotspot with no login page, or use AP mode |
| Board reboots when motors start | ESP32 powered from the L298N 5 V rail or a weak buck | Use the 5 V 3 A buck, common ground, short leads |
| Car turns the wrong way | Motor pair reversed | Swap that motor’s leads, not the code |
| Buttons lag or stick | Wi-Fi sleep or a weak signal | WiFi.setSleep(false) is already set; move closer to the router |
| Nothing moves but the page loads | L298N inputs not reaching logic high or jumpers removed | Measure the input pins; restore the ENA/ENB jumpers |
| Car keeps driving after release | Pointer event not received by the browser | The 1.5 s timeout should stop it; check the serial log and the browser’s pointer support |
Upgrades
- Speed control: remove the ENA/ENB jumpers and add PWM. On the ESP32 Arduino core 3.x, use
ledcAttach(pin, 1000, 8)andledcWrite(pin, duty); on older cores, useledcSetupandledcAttachPin. - Better UI: a joystick or a WebSocket connection instead of one request per press.
- Safety: an ultrasonic sensor that stops the car before a collision, independent of the phone.
- Camera: an ESP32-CAM adds video but also heat and power problems. Plan the supply before buying it.
Cost and parts notes
The ₹1,520 total is a planning figure from October 2026 and excludes shipping. The ESP32 guide explains the 3.3 V logic and ADC limits; the L298N guide explains why the driver gets hot. For a robot that must avoid obstacles on its own, start with the obstacle avoiding build instead.
Common questions
Can I use an Arduino Uno with a Wi-Fi shield instead?
You can, but the ESP32 is cheaper, smaller and already has Wi-Fi and Bluetooth. The ESP32 also has enough memory and speed for a web server without a shield stack.
Why does the ESP32 not see my hostel Wi-Fi?
Many campus networks use a captive portal, enterprise login or 5 GHz-only radios. The ESP32 supports WPA2 personal on 2.4 GHz, not a browser login page. Use a phone hotspot or AP mode.
Can I power the car from a phone power bank?
A power bank can run the ESP32, but it may shut off when the motors draw a spike. Use a 2S pack with a proper buck converter for the electronics, and keep the motor supply separate.
Is it safe to control the car from a browser?
On your own hotspot, yes, for a student project. Do not expose the car to the public internet. The page has no login, and anyone on the same network can send commands.
Keep reading
- Bluetooth controlled robot car — The HC-05 version when Wi-Fi is overkill.
- How to power a robot — Brownout fixes for a Wi-Fi radio plus motors.
- I2C vs SPI vs UART in robotics — Add sensors without running out of pins.
Sources and further reading
Documents used to check the numbers on this page:
- Espressif ESP32 product page — cores, radio and peripherals.
- ESP-IDF ESP32 programming guide — pin and peripheral behaviour.
- TI L293D datasheet page — a comparable dual H-bridge for current and drop-out numbers.
Last reviewed: October 2026. Reviewed against the ESP32 DevKit pinout and the L298N reference circuit. This build has not been bench-tested by this site. The pin choices avoid boot-strapping conflicts, but always test with the wheels off the ground.
Newer builds and guides
- ESP32-CAM robot car — A ₹2,600 Wi-Fi car with live camera streaming.