Building a drone in India costs less than most people expect and takes longer than most people plan. A small quadcopter can be flying for under ₹35,000 in parts; the same money spent badly buys incompatible motors, a flight controller with no documentation and a battery that arrives swollen.
This guide lists what a first build actually needs, what each part costs in India in 2026, the rules that apply before you fly, and the order of work that gets you into the air without destroying the electronics on the bench.
Decide what the drone is for
| Type | Typical size | Use | Build cost |
|---|---|---|---|
| Micro indoor quad | 65–85 mm | Learning to fly indoors, camera on a budget | ₹8,000–18,000 |
| 5-inch freestyle quad | 220–250 mm | Sport flying, FPV, carrying a small camera | ₹30,000–55,000 |
| Survey or mapping quad | 450–650 mm | Photogrammetry, mapping, payload experiments | ₹50,000–1,20,000 |
| Agricultural spray drone | 1,000 mm+ | Spraying, handled commercially | ₹4–12 lakh |
A 5-inch quad is the usual first serious build: cheap enough to crash, powerful enough to teach tuning, and supported by a large parts market. A mapping drone costs more but produces something a client can pay for. An agricultural drone is a commercial machine with its own rules, training and maintenance burden; do not start there.
Parts list for a 5-inch build
| Part | Indicative range | What to look for |
|---|---|---|
| Frame | ₹2,500–6,000 | 5 mm arms, replaceable, spare arms available |
| Motors, set of four | ₹4,800–10,000 | Matching KV for your battery and props |
| 4-in-1 ESC | ₹3,000–7,000 | Current rating above motor peak, BLHeli_32 or AM32 |
| Flight controller | ₹2,500–6,000 | Betaflight support, enough UARTs, known gyro |
| Propellers | ₹300–800 per set | Buy five sets; they are consumables |
| Radio transmitter and receiver | ₹9,000–22,000 | ELRS or a reliable 2.4 GHz link, spare receivers |
| FPV camera and video transmitter | ₹4,000–12,000 | Optional; adds cost and another failure point |
| Battery | ₹2,500–5,500 each | 4S or 6S LiPo, correct connector, reputable cells |
| Charger and power supply | ₹3,000–8,000 | Balance charging, storage mode, genuine |
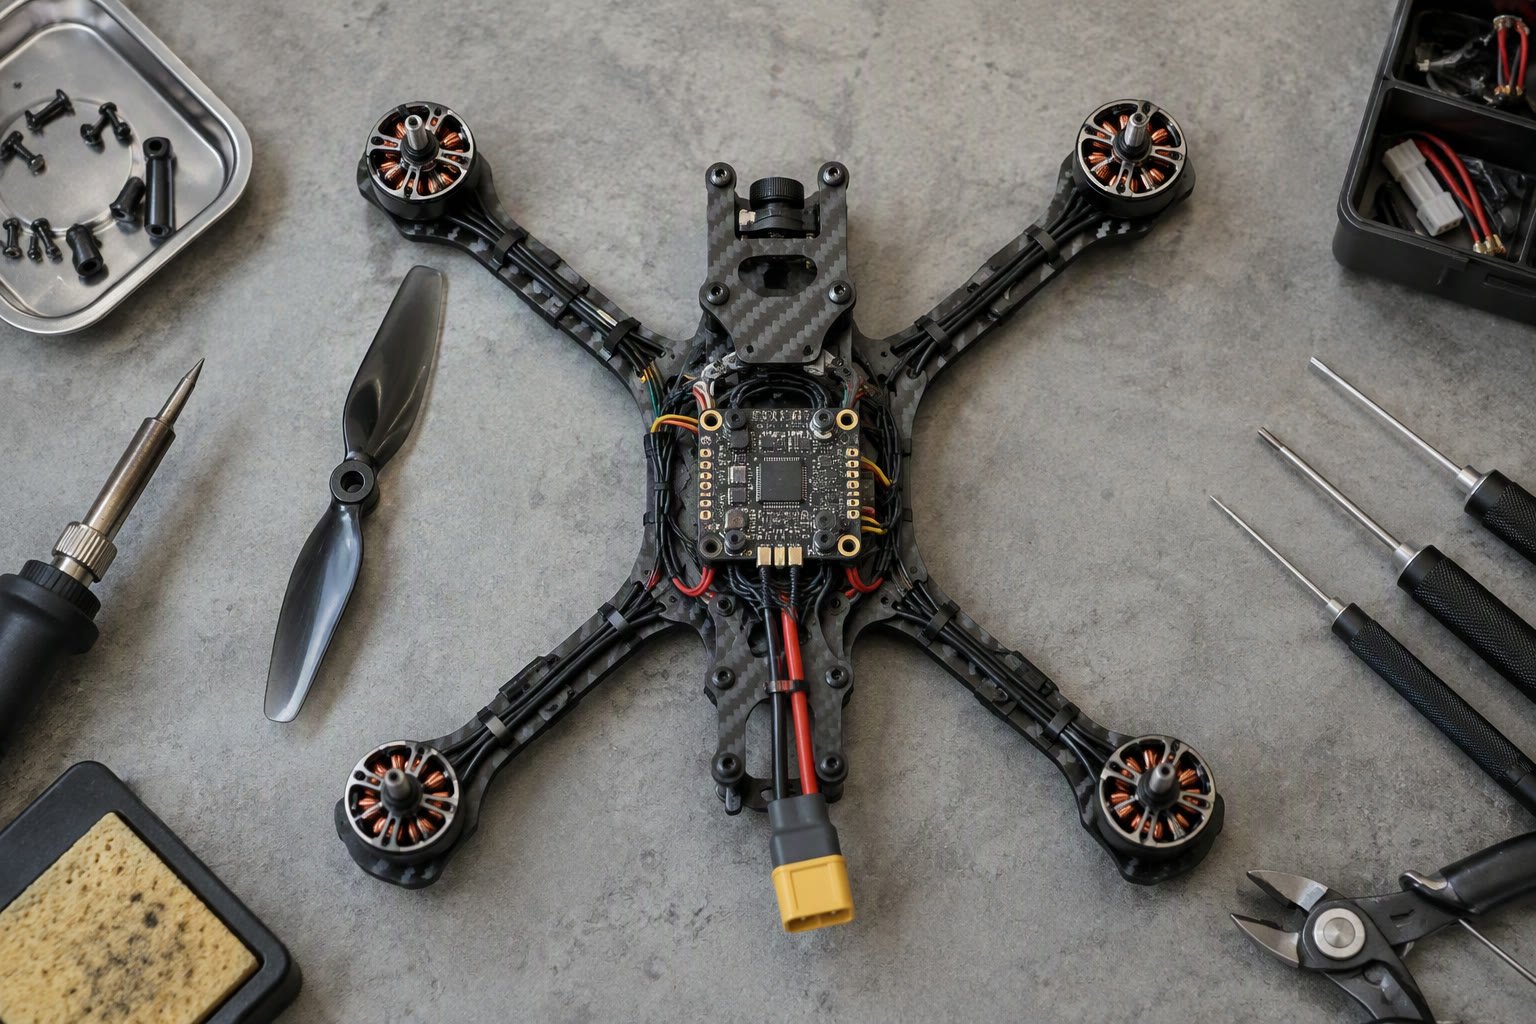
| Tools and consumables | ₹2,000–5,000 | Soldering iron, multimeter, smoke stopper, heat shrink |
A complete 5-inch build usually lands between ₹30,000 and ₹55,000 depending on radio and video choices. The radio is worth buying once and keeping; it is the part you will use with every future drone.
For a mapping quad, add a GPS module, a better flight controller running ArduPilot or PX4, a larger battery and a payload mount. That build is quieter, heavier and much less forgiving of a wiring mistake, so learn on the small quad first.
The rules before the rotors
India regulates drones under the DGCA Drone Rules 2021 and the Digital Sky platform. The categories are based on weight: nano below 250 g, micro from 250 g to 2 kg, small from 2 kg to 25 kg, and larger categories above that. Nano drones are exempt from registration and remote pilot certification; micro and above need a unique identification number, and flying them requires a remote pilot certificate. Third-party insurance applies to most categories above nano.
Registration and permits do not make a location legal. Airports, military areas, government buildings and notified no-fly zones are off limits, and green zones still require attention to height and visibility. Check the current zone map on Digital Sky before every new site, and check the rules again before you buy — they have changed more than once.
For a school or college project, a nano drone under 250 g avoids most paperwork and is the sensible first build. It also hurts less when it hits a wall.
Build order that avoids smoke
- Step 1: plan the stack. Decide battery voltage, motor KV and propeller size together. A 6S battery with high-KV motors and large props pulls more current than the ESC can survive.
- Step 2: assemble the frame. Threadlock metal-to-metal screws, but not into plastic. Route motor wires before soldering anything.
- Step 3: solder the power system. Battery lead, capacitor, ESC pads. Check polarity twice with a multimeter before connecting a battery.
- Step 4: mount the flight controller. Soft-mount the gyro, align the arrow with the frame, keep wires away from the prop wash.
- Step 5: connect receiver and video. Bind the radio before powering the VTX. Never power a video transmitter without an antenna.
- Step 6: configure in Betaflight. Board orientation, receiver protocol, motor direction, failsafe, arming checks. Props off for every one of these steps.
- Step 7: first power with a smoke stopper. If it survives, check motor order and direction in the configurator, then fit props and hover over grass.
Mistakes that cost the most
| Mistake | Result | Prevention |
|---|---|---|
| Props fitted during bench tests | Deep cuts, destroyed electronics | Props off until the hover stage |
| Reversed battery polarity | Dead ESC and flight controller | Multimeter check, XT60 wired consistently |
| Motor direction unchecked | Instant flip on take-off | Test in the configurator with props off |
| No failsafe configured | Fly-away when the link drops | Set and test failsafe before the first flight |
| Cheap unbranded LiPo | Swollen pack, fire risk | Buy known cells, charge on a fireproof surface |
| Flying in a new place without checking zones | Legal trouble and confiscation | Check Digital Sky and local rules first |
Build or buy?
Buy a ready-to-fly nano drone if the goal is to learn to fly. Build a 5-inch quad if the goal is to learn how drones work. Buy a commercial mapping or spray drone if the goal is a service business; the certification, service network and insurance matter more than the frame.
A first build teaches soldering, power budgeting, radio configuration, PID tuning and the discipline of removing props. Those skills transfer to every robot you touch afterwards. The drone itself is almost a by-product.
Related: drone spraying business in India, drone pilot licence, how to power a robot, robot battery guide, BLDC motors and ESCs.
How much does it cost to build a drone in India?
A small 5-inch quad typically costs ₹30,000–55,000 in parts, including radio and charger. A nano indoor drone can be built for under ₹15,000, and a mapping quad costs ₹50,000 or more.
Do I need a licence to fly a drone in India?
Nano drones under 250 g are exempt from registration and remote pilot certification. Micro drones and above need a unique identification number, and flying them requires a remote pilot certificate under the DGCA Drone Rules 2021.
Which is better for a beginner: build or buy?
Buy a cheap nano drone to learn flying, and build a 5-inch quad to learn the engineering. Building first usually means learning to fly and to repair at the same time, which is expensive.
What tools do I need to build a drone?
A temperature-controlled soldering iron, multimeter, smoke stopper, hex drivers, wire cutters, heat shrink and a balance charger. Add a power supply and a fireproof charging bag.
Why does my drone flip on take-off?
Almost always motor order or motor direction, or the flight controller mounted in the wrong orientation. Check all three in the configurator with the propellers removed.
Drone stabilisation starts with the same tilt estimate covered in the IMU complementary filter guide.
Drone packs use the same chemistry, so the LiPo charging and storage guide applies to every flight battery you buy.
The flight controller guide explains the board choices behind the parts list in this build.
Building a 5-inch quad is the standard route into FPV flying in India.
If you want to earn from the aircraft, the drone survey business guide covers the equipment and the clients.
Sources and further reading
- DGCA — Drone Rules 2021, remote pilot certification and airspace guidance.
- Digital Sky — drone registration, permits and zone maps.
- Betaflight documentation — configuration, failsafe and tuning for small quads.
- ArduPilot Copter — firmware and setup for larger mapping and payload drones.