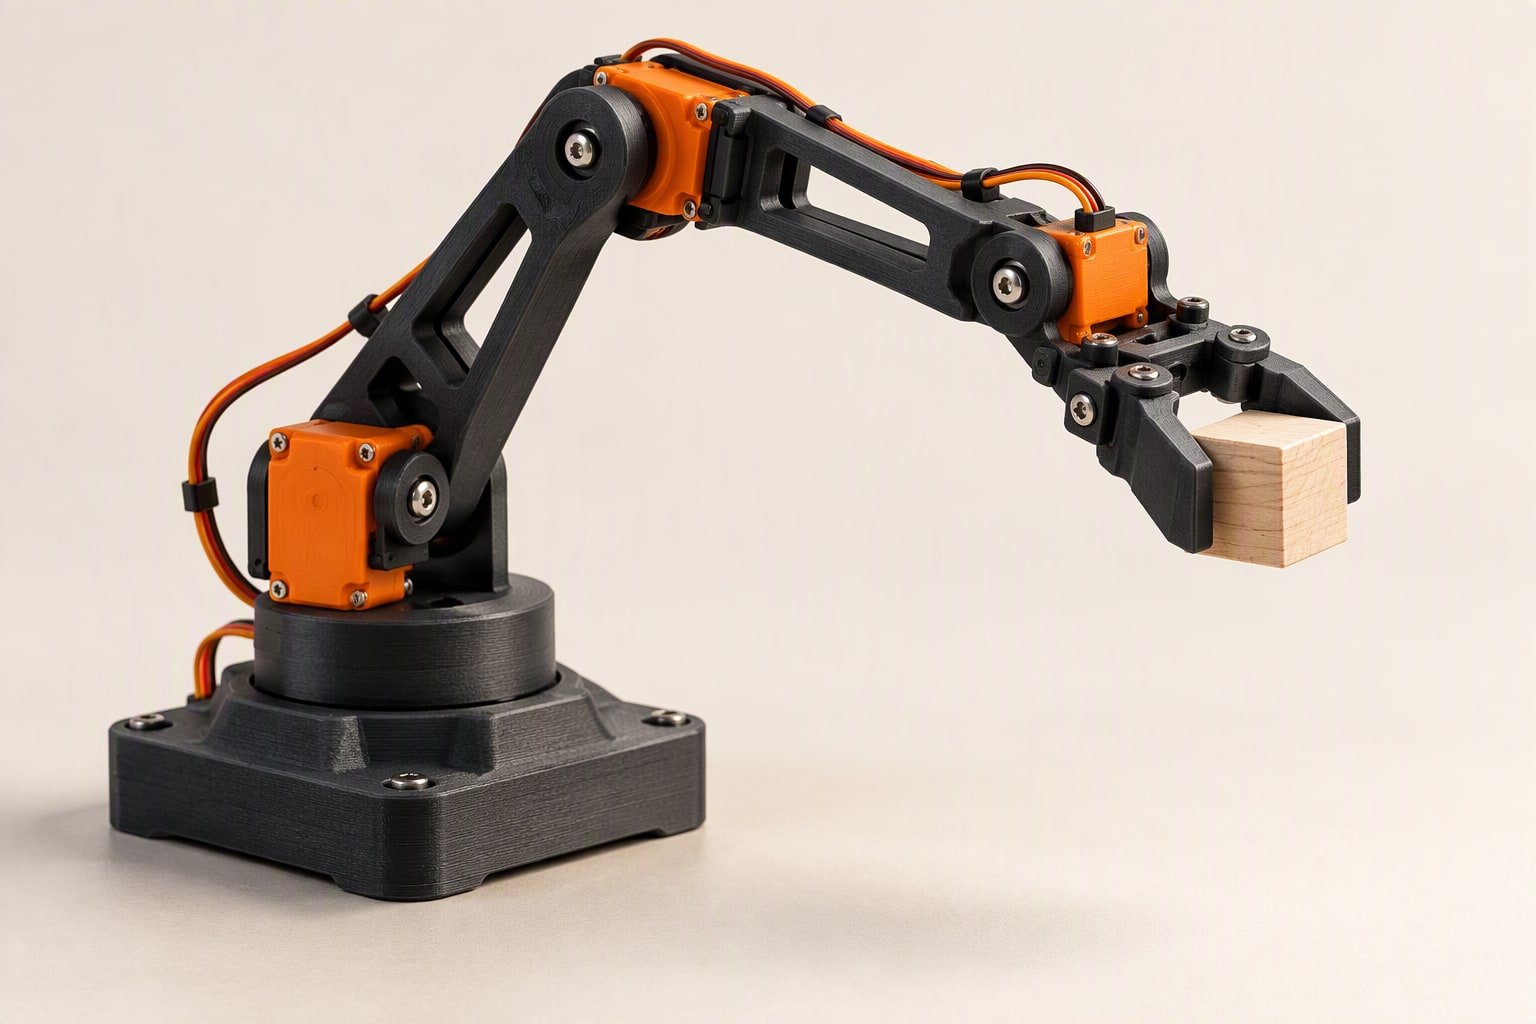
Before buying a desktop robot arm kit, check its real reach and payload, the type and torque of its joint motors, what controller and software it uses, and whether spare parts are easy to get. Treat any listed payload as a maximum at a short reach, and treat repeatability claims with care until you know how they were measured.
Key takeaways
- A desktop robot arm is a small multi-joint arm, usually driven by hobby servos or stepper motors, used for learning and light tasks.
- Payload falls as the arm extends, because torque equals weight multiplied by distance from the joint.
- Hobby servo arms often have noticeable backlash, so check how the maker defines repeatability.
- The controller, software and spare parts decide whether the kit remains useful after the first week.
Reach and Payload
Reach is the farthest distance the gripper can extend from the base, and payload is the weight it can carry. The two trade off: a payload quoted at a short reach does not hold at full stretch.
Here is an illustrative calculation. Assume one link is 20 cm long and the gripper carries a 100 g object (0.1 kg) at its tip. Payload torque = 0.1 kg × 20 cm = 2.0 kg·cm. Assume the link itself weighs 60 g (0.06 kg), acting at its midpoint, 10 cm out. Link torque = 0.06 kg × 10 cm = 0.6 kg·cm. Total = 2.0 + 0.6 = 2.6 kg·cm at that joint, and the joint nearer the base also carries every link and motor beyond it. If a servo is listed at around 9.4 kg·cm (a commonly quoted figure for an MG996R class servo at 4.8 V, so check your part), then 2.6 / 9.4 = 0.277, so the load takes about 28 percent of the listed stall torque at that joint alone.
Ask the seller at what reach the payload is rated, and whether the payload includes the gripper weight. Read the robot arm kinematics basics guide for the geometry.
Joint Motors and Torque
The joint motor is the actuator that turns each link, and torque is the turning force it can apply. Kits commonly use hobby servos, which combine a motor, gearbox and position feedback in one unit, while larger kits may use stepper motors with gearboxes.
Look at gear material (plastic or metal), the listed torque at your supply voltage, and whether larger servos are used at the base and shoulder where the load is highest. The MG996R servo page lists a typical larger servo class. Smaller servos in the wrist and gripper save weight, which lowers the torque needed at the shoulder.
Also check the joint count, called degrees of freedom. A three-joint arm positions the gripper in a plane or in space but may not control its angle. The 3-DOF Arduino robot arm project shows what three joints can do. More joints give flexibility but add weight, wiring and error.
Controller and Software
The controller is the board that sends signals to the motors, and the software is how you command it. Many kits come with an Arduino-compatible board, and some add a servo driver board, because a microcontroller has limited PWM pins.
A 16-channel I2C servo driver such as the one on the PCA9685 servo driver page frees your microcontroller from generating all the pulses. Check how the servos are powered. A set of servos moving together can draw several amps in bursts, so the kit needs a proper supply with enough current, not a USB port.
Look at what software the kit offers: a documented library, example code, a mobile app or a PC program. Open code and clear documentation matter more than a long feature list. If you want to write your own motion code, the inverse kinematics for a 2-link arm in Python tutorial is a useful starting point.
Repeatability in Practice
Repeatability is how closely the arm returns to the same point when sent there again. It is different from accuracy, which is how close it gets to the intended point. Hobby servo arms have gear backlash and a position deadband, so the gripper may stop at slightly different points each time.
Many kit listings give no repeatability figure, or give one without saying how it was measured. If a figure is given, ask for the test method, the load and the distance. For a classroom or pick-and-place demo, small errors are acceptable if your task tolerates them, such as dropping a block into a wide tray. For fine assembly they are not.
You can improve results with slow, smooth moves, always approaching a point from the same direction, and rigid mounting of the base to a table or board. The record-and-replay approach in the servo robot arm record and playback project depends on this repeatability.
Assembly Time
Assembly time is how long it takes to put the kit together and calibrate it. Kits range from pre-built arms to laser-cut or 3D-printed parts that need many small screws.
For a college lab session or a weekend, check the listing for the number of parts, whether instructions are clear and in a language you can follow, and whether servo horns need to be centred before assembly. Setting each servo to its centre before fitting the horn avoids a common problem in which a joint has less travel on one side. If the kit uses 3D-printed parts, look at the print quality and any shown tolerances. For design principles, see the robot arm design CAD guide.
Spare Parts Availability
Spare parts availability is whether you can buy replacement servos, gears, horns, brackets and cables later. Servo gears strip when an arm hits an obstacle, so replacements are likely to be needed at some point.
- Check whether the kit uses standard-size servos you can buy locally.
- Check whether brackets are standard shapes or one-off parts that only the maker sells.
- Ask whether the seller lists replacement parts and how long the model has been available.
- Prefer kits whose documentation includes dimensions, so you can print or cut replacements.
Prices and stock change often, so compare current listings from a few suppliers rather than relying on a figure here.
How to check this yourself
- Find the kit’s stated reach and payload, and note the reach at which the payload applies.
- Compute joint torque as weight in kilograms times distance in centimetres for each joint, and compare it with the motor’s datasheet torque at your supply voltage.
- Check the power supply rating against the combined peak current of all servos.
- After assembly, send the arm to the same point ten times and mark the landing points on paper to see the spread.
- Search for the replacement part you are most likely to need, such as the base servo, and see whether it can be bought.
Common mistakes
- Reading a payload figure as if it applied at full reach.
- Running all servos from a USB port or a weak adapter.
- Assuming repeatability claims are measured the same way by every maker.
- Fitting servo horns without centring the servos first.
- Buying a kit with no way to get replacement parts.
Quick checklist
- Ask at what reach the payload is rated.
- Compute torque at the shoulder with the arm stretched.
- Check the power supply current rating.
- Look for documentation, open code and example programs.
- Confirm that replacement servos and brackets are available.
Frequently asked questions
How much weight can a desktop robot arm lift?
It depends on reach, because torque equals weight times distance. A listed payload is usually the maximum at a short reach. Work out the torque at each joint with the arm stretched, and compare it with the motor datasheet, leaving a good margin for the arm’s own weight.
Is a servo robot arm accurate enough for pick and place?
For tolerant tasks such as dropping light objects into a tray, often yes. Hobby servos have backlash and deadband, so the arm may stop at slightly different points. Test repeatability on your own arm, and approach each point from the same direction.
What power supply does a robot arm kit need?
Use a separate supply rated for the combined peak current of all servos, at the voltage in their datasheets. A USB port is usually not enough. Share the ground with the controller, and add capacitors near the servo driver board.
Related reading
- Learn hub: guides on arms, motors and control.
- Servo torque calculator: check joint torque for your own link lengths.
- Build hub: arm projects you can try.
- LiPo Charger Module: What to Check Before Buying
About the author and how this is kept accurate
Written, checked and maintained by Jignesh Panchal of Jaadu Digital. Figures in worked examples come from the stated assumptions, not from a bench test of our own. Read the editorial standard, follow the author on LinkedIn, or send a correction. Last reviewed: November 2026.