Cells in series add voltage and cells in parallel add capacity, and a robot battery pack usually needs both. Work out the series count from the voltage your robot needs and the parallel count from the runtime you want, then check balance, protection and a safe first test.
Key takeaways
- Series connection adds cell voltages and keeps the capacity of a single cell.
- Parallel connection adds capacities and keeps the voltage of a single cell.
- A pack is described as XsYp, where X is cells in series and Y is groups in parallel.
- A lithium pack needs a protection board or battery management system matched to its series count and current.
Voltage from Series Cells
Series means connecting the positive of one cell to the negative of the next, so their voltages add. The pack voltage is the cell voltage times the number of cells in series.
A common lithium-ion 18650 cell has a nominal voltage of about 3.6 or 3.7 V, a full-charge voltage near 4.2 V and a lower limit set by the maker, so check your cell’s datasheet. As an illustration with a 3.7 V nominal cell: 2 in series is 2 x 3.7 = 7.4 V, 3 in series is 3 x 3.7 = 11.1 V, and 4 in series is 4 x 3.7 = 14.8 V. A fully charged 3s pack at 4.2 V per cell is 3 x 4.2 = 12.6 V.
Check what your motor driver and regulator accept at both the full and the empty voltage. A motor driver rated for a limited input will be damaged by a pack that is too high when fully charged. The robot battery guide compares the common chemistries and where each fits.
Capacity from Parallel Cells
Parallel means connecting all positives together and all negatives together, so capacities and current capability add while the voltage stays the same. This is how you raise runtime or the current a pack can supply.
For example, if each cell is an illustrative 2.5 Ah, then 2 in parallel give 2 x 2.5 = 5 Ah, and 3 in parallel give 3 x 2.5 = 7.5 Ah. A 3s2p pack of those cells has 3 x 3.7 = 11.1 V nominal and 5 Ah, which is 11.1 x 5 = 55.5 Wh of energy. Real capacity depends on the cell, the discharge current and temperature, so check the datasheet discharge curves.
| Pack | Nominal voltage | Capacity (2.5 Ah cells) | Energy |
|---|---|---|---|
| 2s1p | 7.4 V | 2.5 Ah | 18.5 Wh |
| 3s1p | 11.1 V | 2.5 Ah | 27.75 Wh |
| 3s2p | 11.1 V | 5 Ah | 55.5 Wh |
| 4s2p | 14.8 V | 5 Ah | 74 Wh |
Check of the table: 7.4 x 2.5 = 18.5, 11.1 x 2.5 = 27.75, 11.1 x 5 = 55.5, 14.8 x 5 = 74. Use the battery pack series parallel calculator to try your own cell values, and robot battery sizing calculation to turn energy into runtime.
Balance and Matching
Balance means all cells in the pack sit at the same state of charge, and matching means the cells start out alike. Unbalanced cells shorten the pack’s usable life and can be unsafe.
Use cells of the same make, model, capacity and age, ideally from the same batch, and buy from a supplier you can trust. Fake or relabelled cells are a known problem in the market, so check the cell quality before you build. In a parallel group, cells share voltage naturally, but they should start at nearly the same voltage when you connect them, because a large difference causes a high equalising current. Measure each cell with a multimeter first and follow the maker’s advice on the allowed difference.
In a series string, cells charge and discharge unevenly over time, so a balancing charger or a battery management system with balancing is normally used. See the battery management system guide for robotics for what these boards do.
Protection Board Needs
A protection board, often called a BMS, cuts the pack off when voltage, current or temperature goes outside safe limits. Lithium cells should not be used without one unless you are very sure of the charge and discharge limits.
Match the board to the series count, for example a 3s board for a 3s pack, and to the continuous and peak current of your robot. Check whether it includes over-charge, over-discharge, over-current and short-circuit protection, and whether it balances cells. A board rated below your motor stall current will trip at the worst time.
Choose a charger that fits the series count and cell chemistry too. This is general guidance and not a substitute for the cell maker’s instructions or a qualified engineer.
Pack Build Checks
Building a pack involves joining cells with nickel strip or holders, and the joints and wiring decide how safe the pack is. Poor joints heat up under current, and loose wiring can short.
Most builders use cell holders, which avoid heat on the cell, while spot-welded nickel strip is the usual way for permanent packs. Soldering directly to cells can overheat and damage them, so avoid it unless you follow a safe method. Use wire thick enough for the peak current, fit a fuse close to the pack, and insulate the exposed ends. Keep the pack away from sharp edges and from heat sources in the robot.
Plan space for the pack too. The ready-made 18650 battery pack option can save the build work if it fits your voltage and current need.
Test Before Use
Test the finished pack in stages before it goes into the robot. Start with measurements, then a light load, then the real load.
First, measure the voltage of the whole pack and of each series group, which should match the expected values. Then connect a small load and watch the voltage and the pack temperature. Finally, run the robot and monitor current. The robot battery current monitor with INA219 is a good way to see the real current draw, and compare it with the BMS rating.
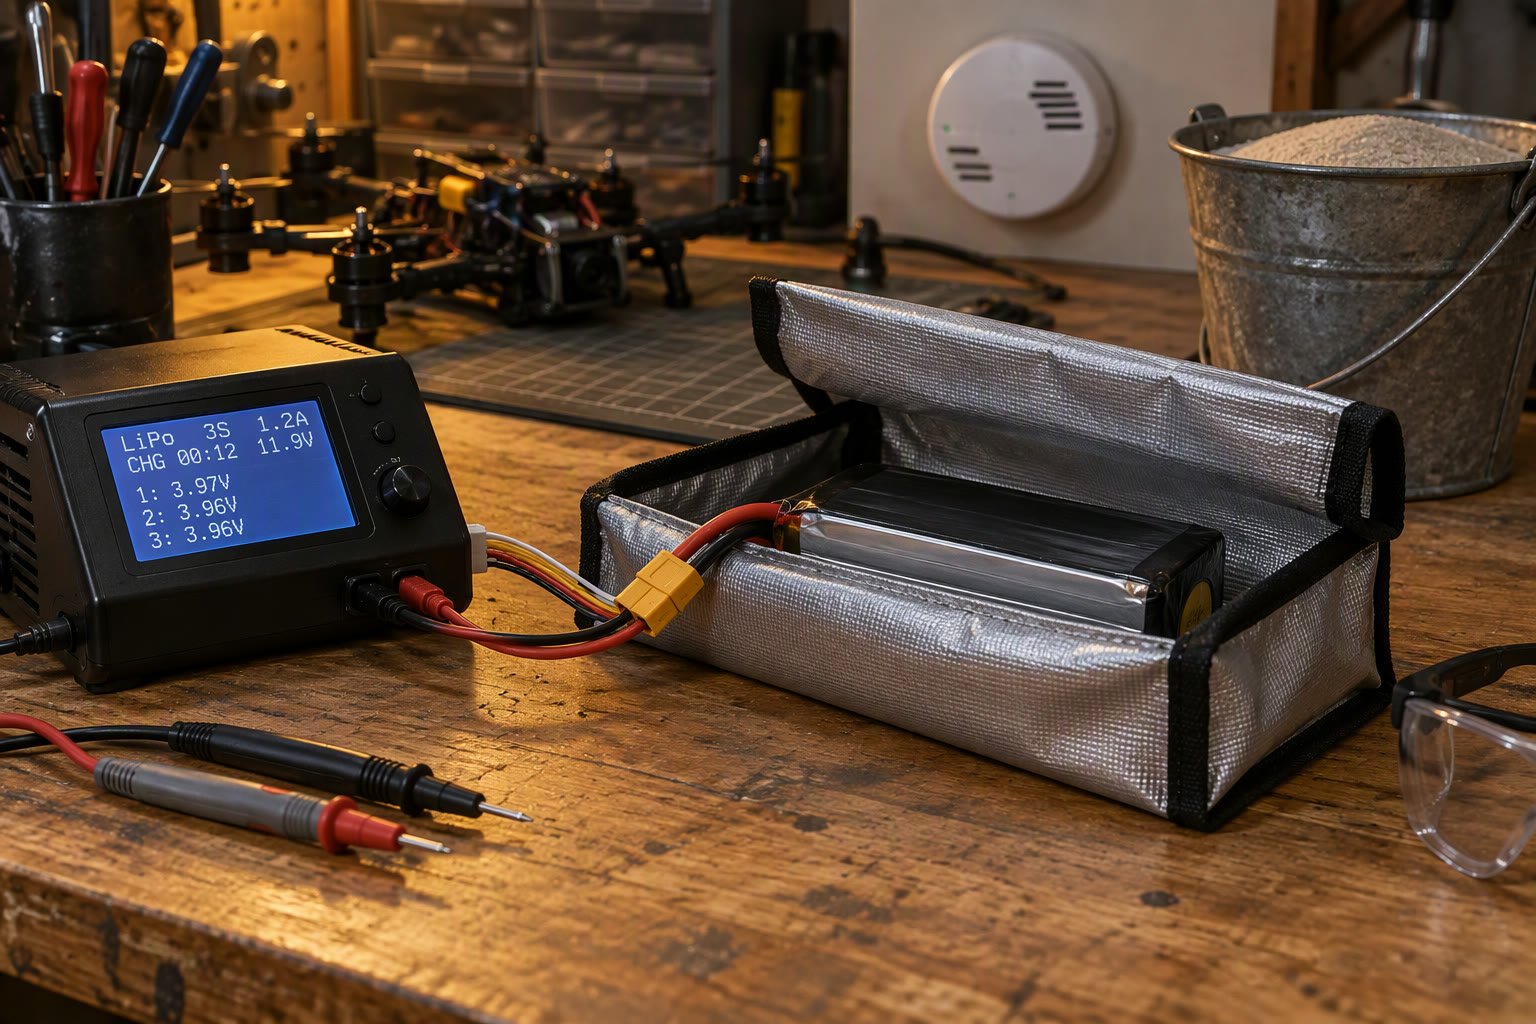
Always charge on a non-flammable surface, never leave a charging lithium pack unattended, and stop using a pack that swells, smells or gets hot.
How to check this yourself
- Write down the cell datasheet values: nominal voltage, full voltage, cut-off voltage, capacity and maximum continuous discharge current.
- Calculate the pack voltage as cells in series x cell voltage, and the capacity as groups in parallel x cell capacity.
- Check that the full-charge pack voltage is within the input limit of your motor driver and regulator.
- Compare the robot’s peak current with the pack’s maximum discharge, which is parallel count x the cell’s rated current, and with the BMS rating.
- Measure each cell and each series group before first use, and again after the first few charge cycles.
Common mistakes
- Connecting cells at different voltages in parallel.
- Mixing old and new cells or different brands in one pack.
- Using a BMS with a lower current rating than the robot’s peak draw.
- Leaving out a fuse near the pack.
- Ignoring the full-charge voltage when picking the motor driver.
Frequently asked questions
What does 3s2p mean for a battery pack?
It means 3 cells in series and 2 such strings in parallel, so 6 cells in all. With 3.7 V, 2.5 Ah cells, that gives about 11.1 V nominal and 5 Ah. Series raises voltage and parallel raises capacity. Always confirm limits on your own cell datasheet.
How many 18650 cells do I need for a 12 V robot?
A 3s pack gives about 11.1 V nominal and 12.6 V when full, which is commonly used for 12 V robots. The number of parallel groups depends on your runtime and current. Check that your motor driver accepts the full voltage, and use a suitable BMS.
Do I need a BMS for a lithium battery pack?
For lithium-ion packs, a protection board or BMS matched to your series count and current is normally recommended. It guards against over-charge, over-discharge and short circuit, and often balances cells. Use a charger suited to the pack as well, and follow the cell maker’s safety instructions.
Related reading
- Robot battery runtime calculator, to estimate runtime from pack energy.
- Robot energy consumption in India, for power use in larger robots.
- ESP32 robot car project, a battery powered mobile build.
- Learn hub, for more electronics basics.
About the author and how this is kept accurate
Written, checked and maintained by Jignesh Panchal of Jaadu Digital. Figures in worked examples come from the stated assumptions, not from a bench test of our own. Read the editorial standard, follow the author on LinkedIn, or send a correction. Last reviewed: November 2026.